Use Case: Creating a Complex Tile Pattern with Grout Joints
- 27 Aug, 2025
- Use Case Library
MeasureSquare
Before

Project Details
💻
Platform
MeasureSquare 8 & MeasureSquare Stone
🏘
Industry
Residential Interiors
🛠️
Trade
Flooring
🎨
Project Type
Custom Tile Design
📖
Background
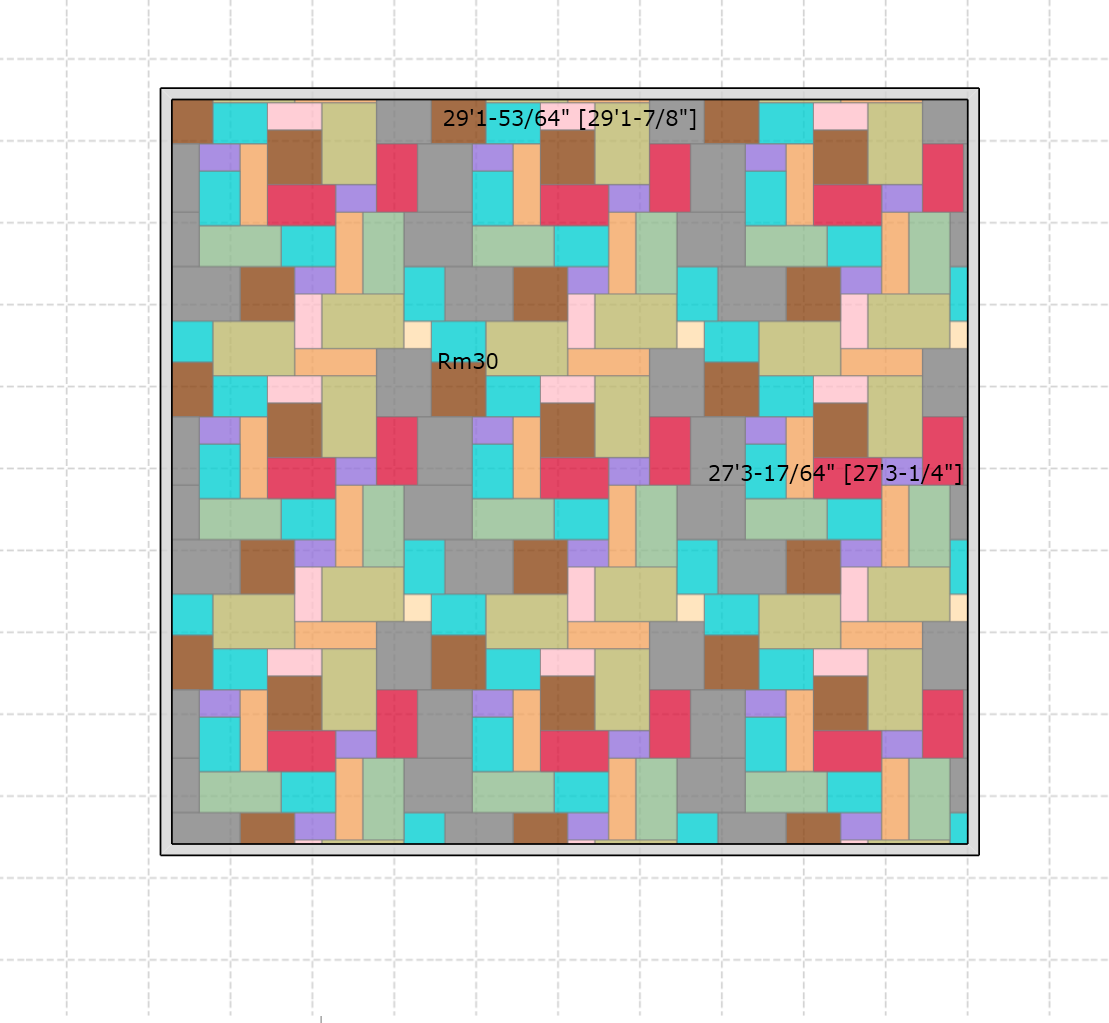
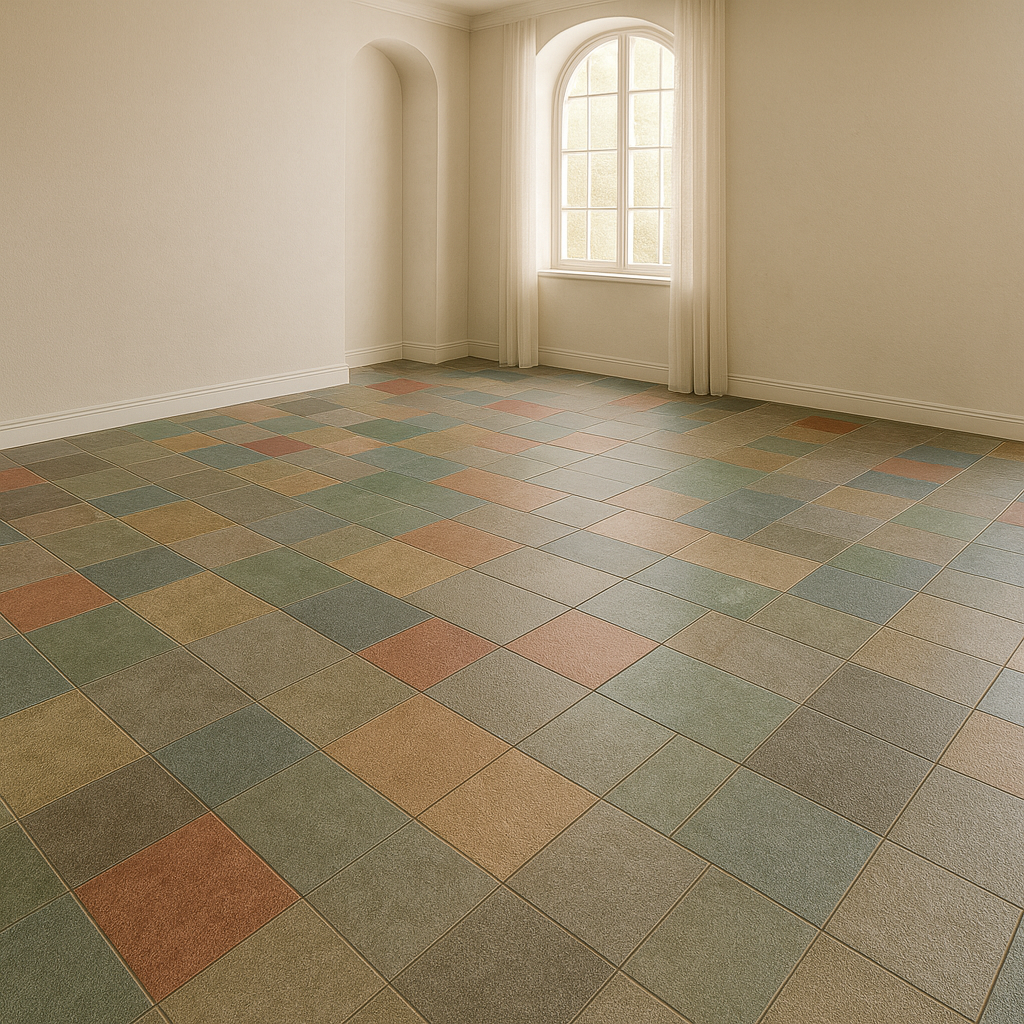
Complex tile layouts with multiple sizes and grout joints can be tricky. Without precise adjustments, patterns won’t repeat correctly, making installation a challenge. In this case, a 10-tile modular layout with a 0.3 cm grout joint had to be defined as a single pattern in MeasureSquare 8.
⚠️
Challenge
Creating a repeatable pattern with 10 different tile sizes isn’t simple. Even with the Pattern Design tool, you’d have to manually place and adjust each tile. Add a 0.3 cm grout joint, and the challenge grows—every tile size must be recalculated to keep the layout aligned. Without those adjustments, a seamless pattern isn’t possible.
Measure Square Solution:
Designing a pattern with multiple tile sizes requires patience, careful sequencing, and precise dimension control. Unlike simple layouts, a 10-size modular combination with grout spacing needs to be approached step by step to ensure it is both repeatable and practical for installation.
To achieve success, we recommend:
- Start from one corner: Begin laying out the pattern from a fixed reference point (such as the bottom-left corner) and build row by row. This ensures that each tile aligns consistently as the design grows.
- Maintain consistent spacing: Always factor in the grout joint (e.g., 1/8" or ~0.3 cm). Increasing tile dimensions by the grout width helps the software generate a repeatable layout.
- Check alignment often: After each row, verify that the tiles align correctly both horizontally and vertically. This avoids small mismatches that can accumulate into larger pattern errors.
- Think in repeat units: Focus on building a single repeatable block first. Once that unit is clean and aligned, it can be multiplied seamlessly across the surface.
- Use both Imperial and Metric input flexibility: You can enter values like
1/8",12', or30cmregardless of your current unit setting, which makes adjustments much faster.
By combining these best practices with the Pattern Design tool in MeasureSquare 8, even very complex tile pattern layouts can be transformed into repeatable patterns that installers can rely on in the field.
Technical highlights:
🧱
Grout Adjustment
Expand tile dimensions by the grout width to ensure the software recognizes the pattern as continuous.
📐
Sequential Placement
Build row by row from a starting corner to keep the design structured and manageable.
🔍
Alignment Verification
Regularly check horizontal and vertical alignment to prevent pattern drift.
🔄
Repeat Unit Control
Create a single repeatable block first, then extend it across the project for efficiency.
⚖️
Flexible Dimension Entry
Enter dimensions in Imperial or Metric regardless of the active setting, simplifying cross-unit workflows.
Video Tutorial:
Key Takeaways:
- Complex tile patterns can be built in MeasureSquare 8 by modifying tile dimensions to account for grout joints.
- Use unit suffixes (
cm,",ft) to enter dimensions across both Metric and Imperial settings. - Once adjusted, the pattern will repeat seamlessly and can be saved for future projects.
Remember: Measure Square is a powerful tool, but it requires knowledgeable operators who understand both the software's capabilities and real-world installation requirements. Master both, and complex pattern projects become profitable opportunities rather than risky ventures.
Interested in trying out tile pattern design in MeasureSquare 8? Download your free 14-day trial: click here.
Sample Files for Download:
Interested in Measure Square?
Meet an expert and explore how Measure Square can work for you.